How to Remove Sony TV from wall mount
Taking down your Sony Bravia TV from its wall mount might seem daunting, but fear not! This guide will walk you through the process, ensuring a smooth and safe removal.
Before You Begin:
- Gather Your Tools: You’ll likely only need a few basic tools, depending on your specific wall mount:
- Phillips or flathead screwdriver (based on your mount’s screws)
- A helper (recommended for larger TVs)
- Soft blanket or towels (to place the TV on for protection)
Identifying Your Wall Mount Type:
There are two main categories of wall mounts: fixed and tilting/articulating. While the core removal process is similar, there might be slight variations depending on the type. Take a moment to examine your mount and identify its functionality.
General Removal Process:
-
Power Down and Disconnect: Always turn off your TV and unplug it from the power outlet before any disassembly. Disconnect any cables connected to the TV, like HDMI or antenna cables.
-
Locate the Release Mechanism: Most Sony Bravia TVs utilize a locking mechanism on the wall mount that secures the TV in place. This mechanism can vary depending on the mount model. Here are some common locations to check:
- Back of the TV: Look for levers, knobs, or release buttons on the backplate attached to the TV. These might be labeled or require a specific press or pull motion to release.
- Wall Plate of the Mount: Some mounts have levers or knobs located on the wall plate itself, near where the TV connects.
-
Engaging the Release Mechanism: Once you’ve located the release mechanism, follow the manufacturer’s instructions (if available) or consult the general guidelines below:
- Levers or Knobs: These typically require a gentle pull or push in a specific direction to release the TV.
- Buttons: Press the button firmly to disengage the locking feature.
-
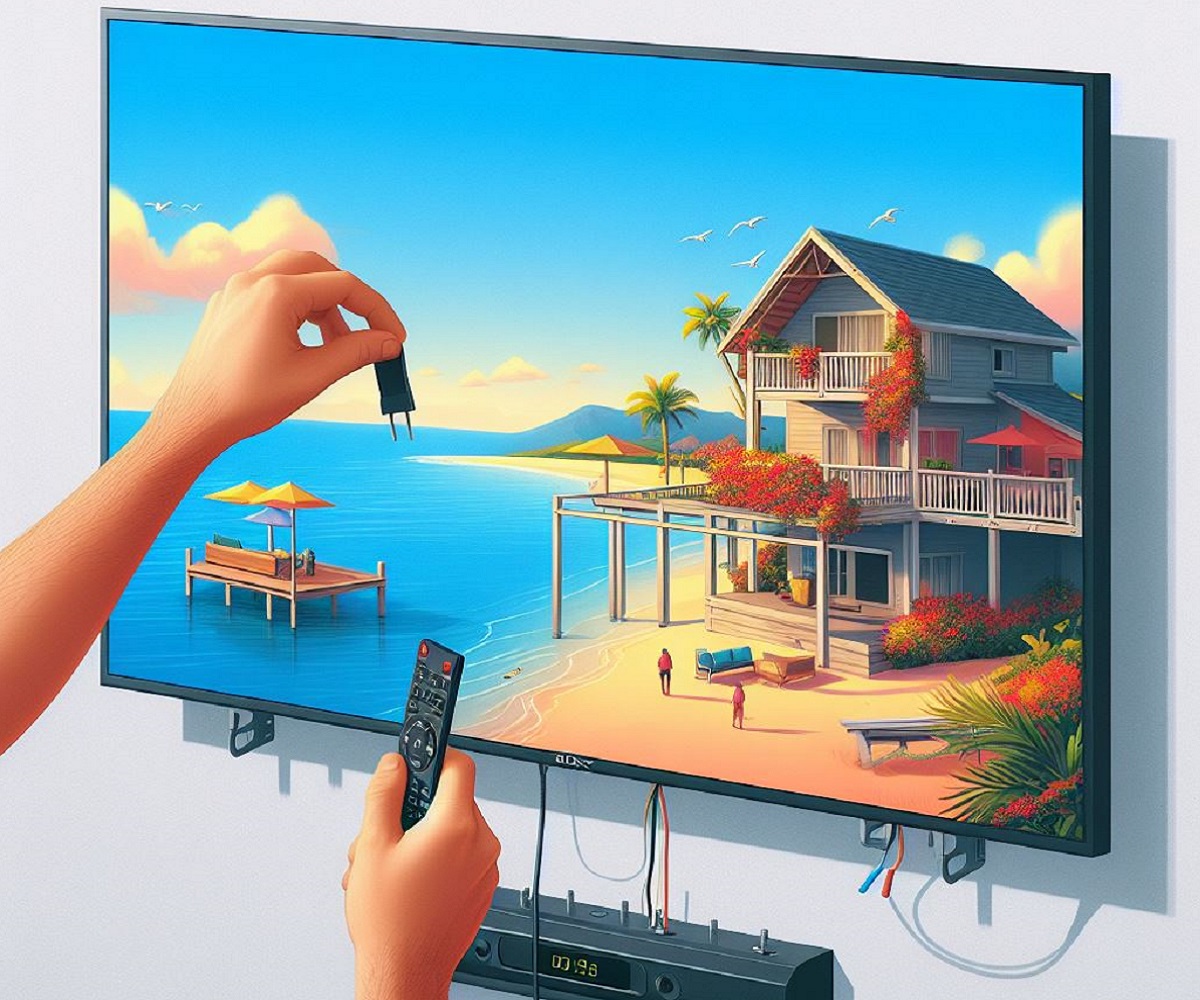
Supporting the TV: Before fully releasing the TV, have a helper or use a soft blanket/towels to support the bottom of the TV as it detaches from the mount. This is crucial to prevent accidental drops or damage.
-
Carefully Detach the TV: Once the release mechanism is disengaged, slowly and carefully pull the TV straight out from the wall mount. Maintain a firm grip and ensure the TV is well-supported throughout the process.
Specific Considerations for Different Mount Types:
-
Fixed Mounts: These typically have a straightforward release mechanism located on the backplate attached to the TV. Follow steps 2-5 above, ensuring the TV is well-supported during removal.
-
Tilting/Articulating Mounts: These mounts might have an additional locking mechanism for the tilt/articulation feature. Locate and disengage this secondary lock before proceeding with the main release mechanism as outlined in steps 2-5.
Additional Tips:
- Consult the Manual: If you have the user manual for your specific Sony Bravia TV or wall mount, refer to it for detailed removal instructions.
- Sony Support: If you’re unsure about any aspect of the removal process, you can visit the Sony support website or contact their customer service for assistance.
By following these steps and considering the specific type of wall mount you have, you should be able to safely remove your Sony Bravia TV. Remember, prioritizing safety is key. If you’re dealing with a particularly large or heavy TV, enlist a helper to ensure a smooth and secure removal process. Enjoy your newfound wall space or the freedom to relocate your TV to a different location!